this is a page for
Category: DIY / Decor
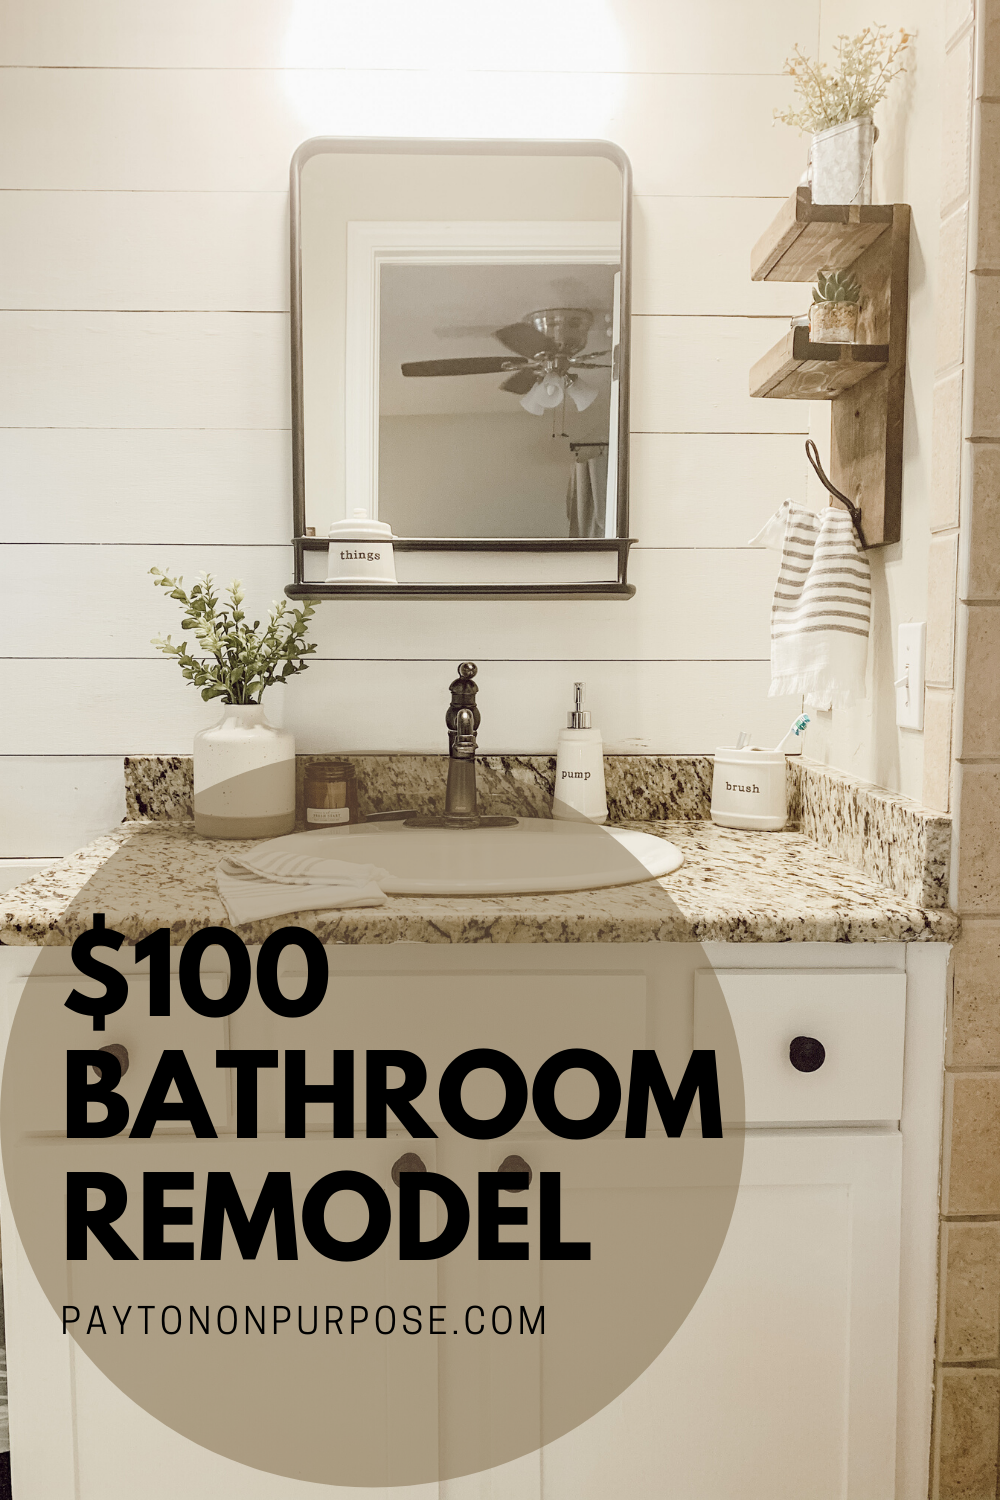
Oh boy. This is a makeover to top all other makeovers that I’ve done. This tiny bathroom in our master bedroom has been hidden away because it was so ugly. Okay, it wasn’t terrible, but it just didn’t feel like me. Please enjoy this guide on how I completed a $100 bathroom remodel.
The real slim shady song has been STUCK in my head all day. I have no idea why. I also have a terrible headache because my coffee this morning was 20% coffee and 80% sugar & whipped cream. Oh well, It’s the weekend. I’m back to distract you with my $100 closet remodel (otherwise known as the February house project that is just now being written). If you like organization and terrible before photos but also really good after photos, stick around.
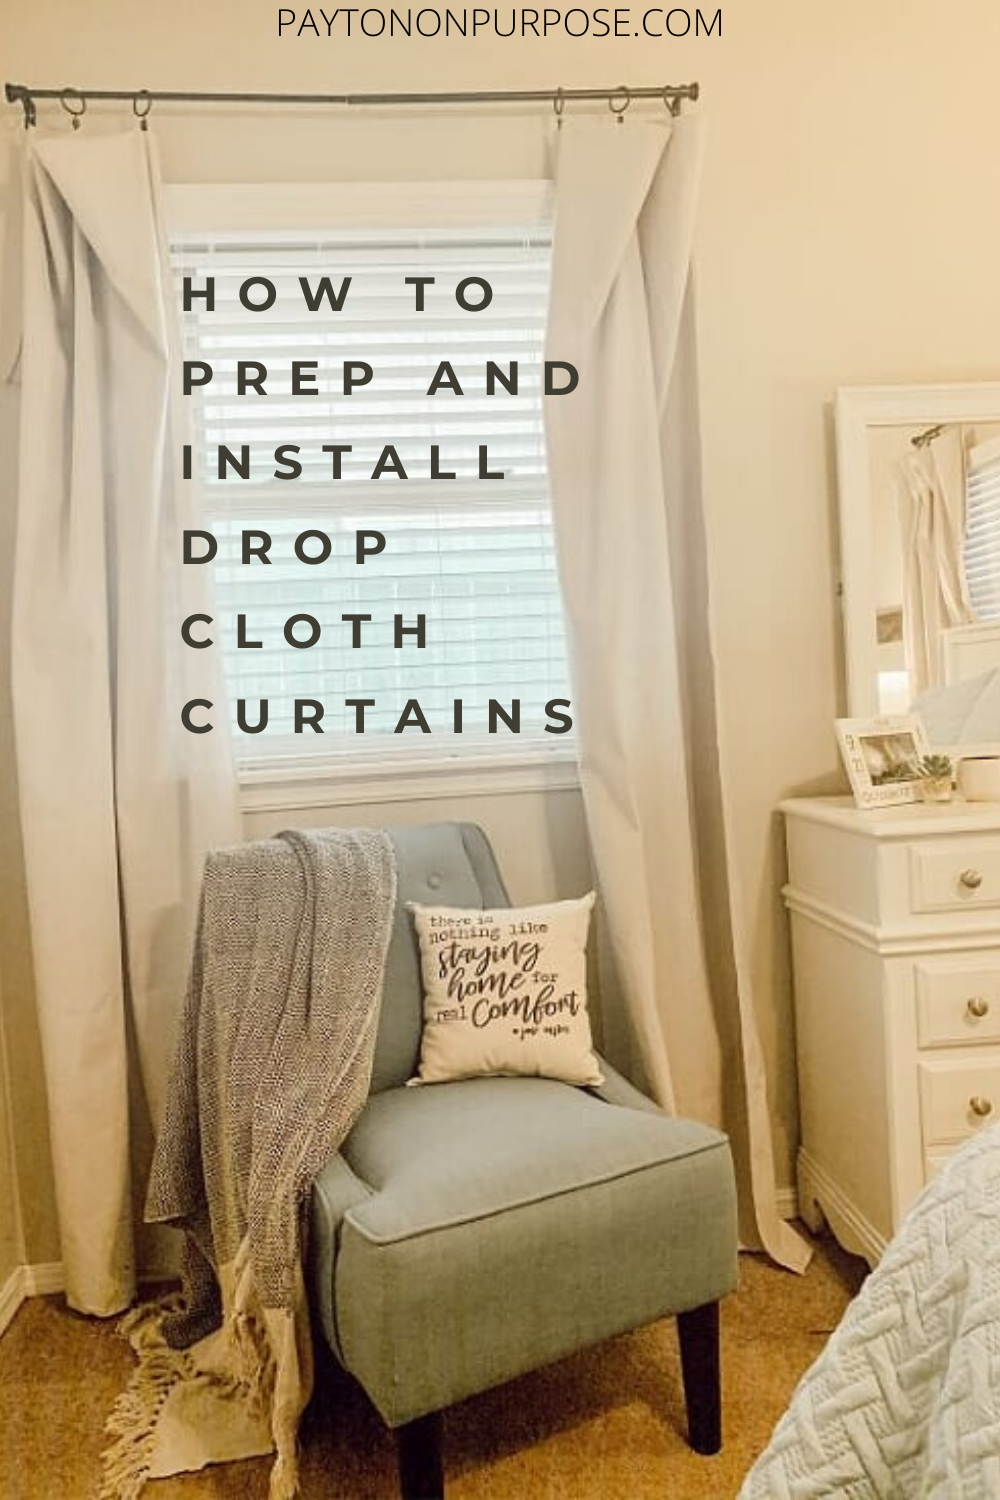
Sometimes the DIY bug will hit and I need a project to do. I love quick but big projects that give you instant gratification – I think that’s why I love building furniture. Most recently I was able to redo our master bedroom for less than $100! Today I’ll be showing you how to prep and install drop cloth curtains.
I can’t believe it’s already time for all things pumpkin! It’s still pretty hot outside here in OKC but hopefully a cool down will happen soon. I am getting excited to break out my scarves, sweaters and booties. More importantly, I ordered a bunch of new fall clothes for Isla and I can’t wait until its cool enough to put her in a cute little sweater. See what I bought her from H&M here. Thanks for stopping by to check out our Fall decor for your porch ideas! These easy to recreate ideas will have your porch looking cozy in no time!
Heidi-ho, Neighbor! (Anyone else watch old re-runs of Home Improvement and miss the 90s?).
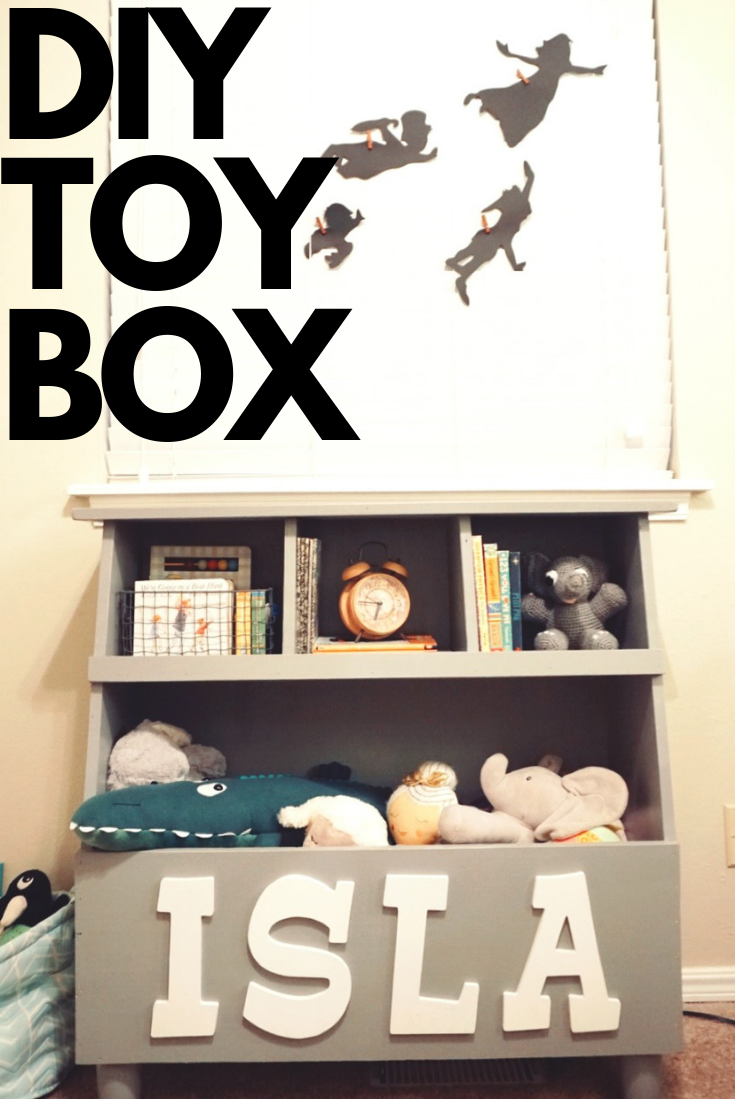
I haven’t had time to build anything in a while to share with you guys. I’ve been helping my mom redo her kitchen, taking a little break from blogging, Isla had a health scare in April and I haven’t felt like writing anything, if i’m being honest. But I thought I’d tell you about Isla’s toy box that I built for her first birthday! This DIY Toy Box offers tons of storage, which makes cleaning her room a breeze!
She turned one in October and I really needed a practical way to store her toys and books. We were having to get creative and stuff toys all over the place to put them away.
I had been wanting to build her a toy box but I knew it would have to have a built in bookshelf as well as storage for bigger items. I have been following Ana White for years and I had seen these plans before.
Is everyone sticking to their resolutions this year? Or are you like me and just ate an enormous plate of Chinese food for lunch? Haha I am actually doing pretty good on my resolutions. Check them out here.
I’m down 18 lbs since the beginning of November and while I can’t really tell yet, others have started making comments. Hooray! It makes me want to go out and buy a swim suit already! Not quite, but almost. I’m really wanting summer to get here so I can spend some time outside. I’m super pale looking these days, much like a vampire. I’m pretty sure the dark circles under my eyes are permanent at this point. #momlife
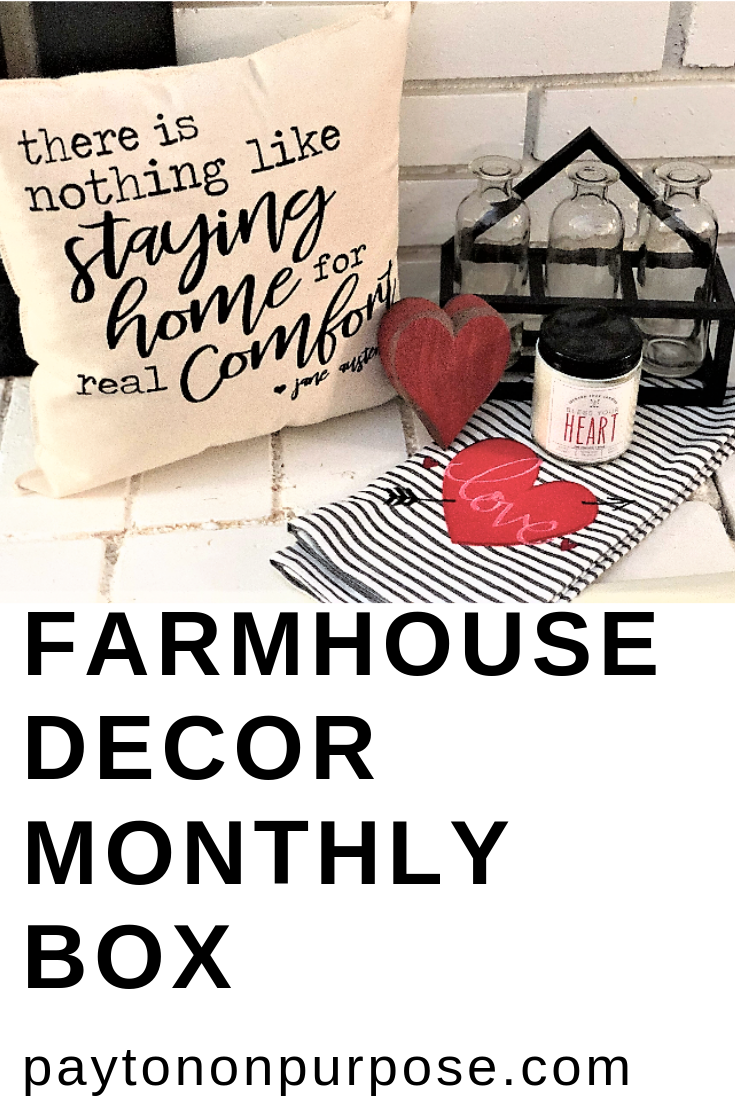
I can’t stop picking sunny places that I’d like to visit. I’m sitting here day dreaming of Nantucket instead to telling you about the contents of my February box from Urban Farmgirl. See what was in my January box here.
I can’t believe how fast January flew by! Does anyone else feel like that?
Did you see that according to Punxsutawney Phil, spring is coming early? I usually like winter weather but it’s hard not being able to get the baby out because it’s been so cold. I feel like she has been sick since the beginning of December so I welcome spring with loving arms.
I can’t wait to be able to go outside without a coat and hang out at the park. I see lots of days at the park in our future this spring.
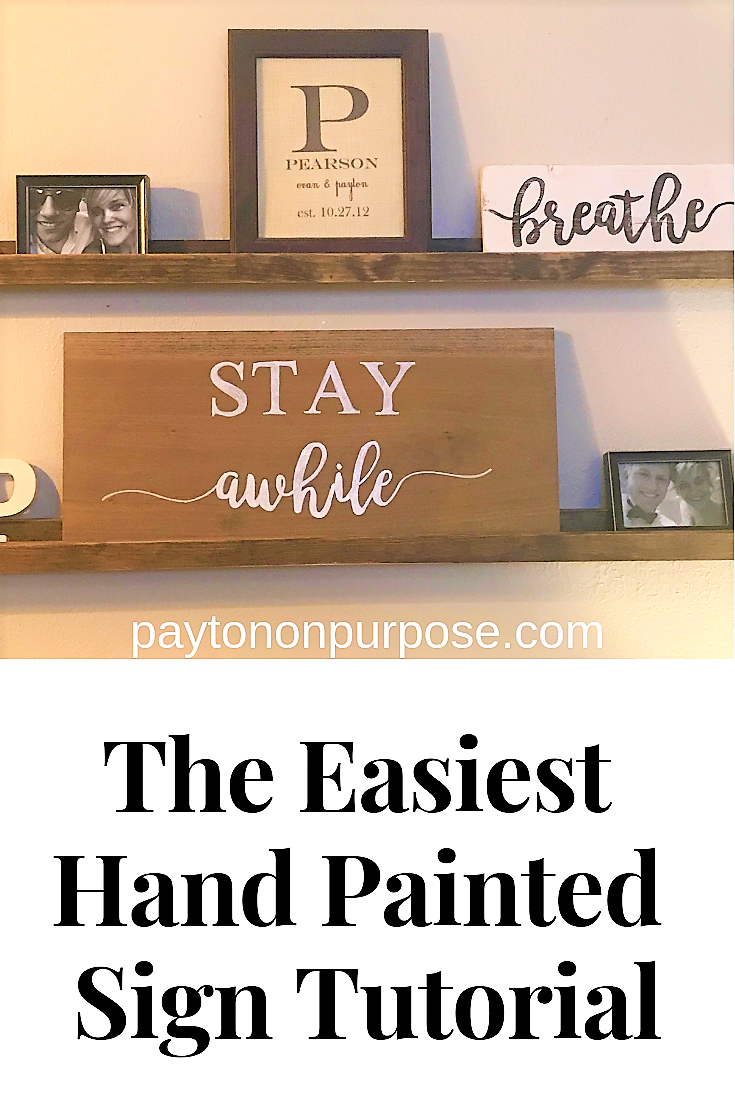
I have wanted to do this tutorial for a while now! I always get the urge to update or add to my home décor in the spring. It’s a pretty expensive habit to get into, my friends. I used to see those cute hand painted signs but I didn’t want to pay a fortune for them, so I decided to do some research and make my own.
I’ve been rambling in this little slice of the internet for a little over 2 months now. It is a blast. I love all the lovely comments and social media support from everyone. I have readers in 41 countries so far! Thank you to each and every one of you.
I know this blog is kind of all over the place. I have several topics that I write about but thanks for sticking around. It means so much. I have goals set for myself and this blog and I’m well on my way to meeting them, thanks to you guys. Be sure and subscribe -> Over there, if you haven’t yet.
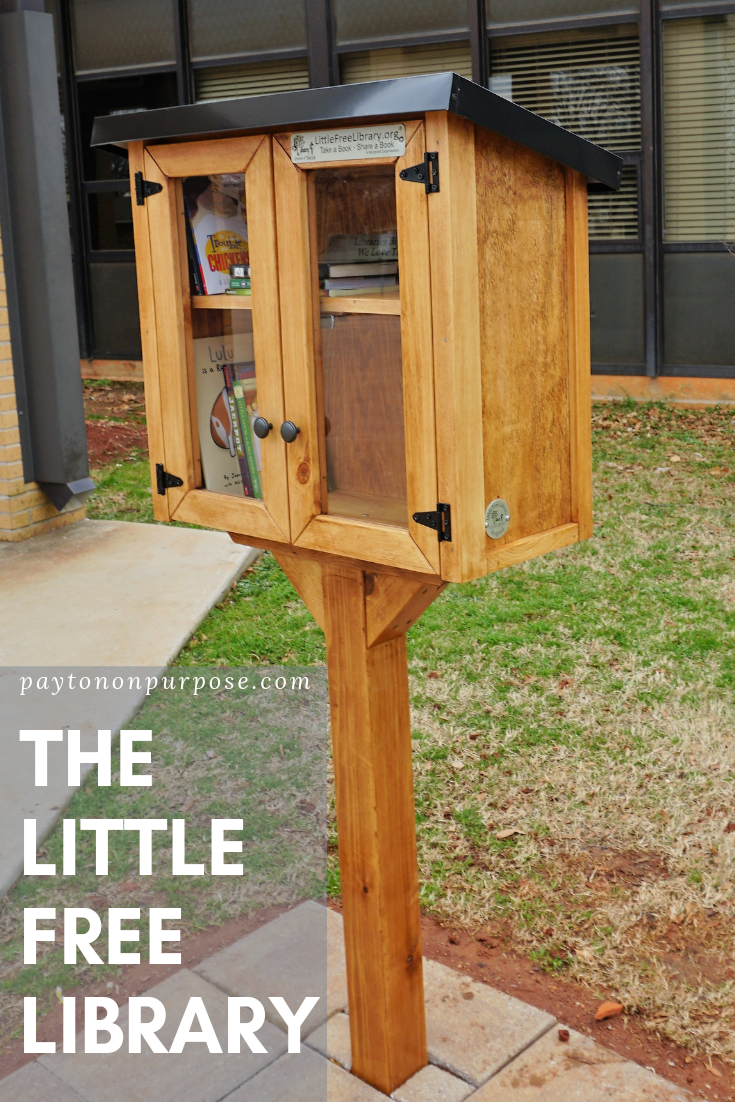
Today I’m here to tell you about a little project that I helped with a couple of weeks ago.
Happy Saturday, Everyone!
I hope you had a great week. I’m so excited about today’s post. Normally my DIY posts are about woodworking but this one is a little different.
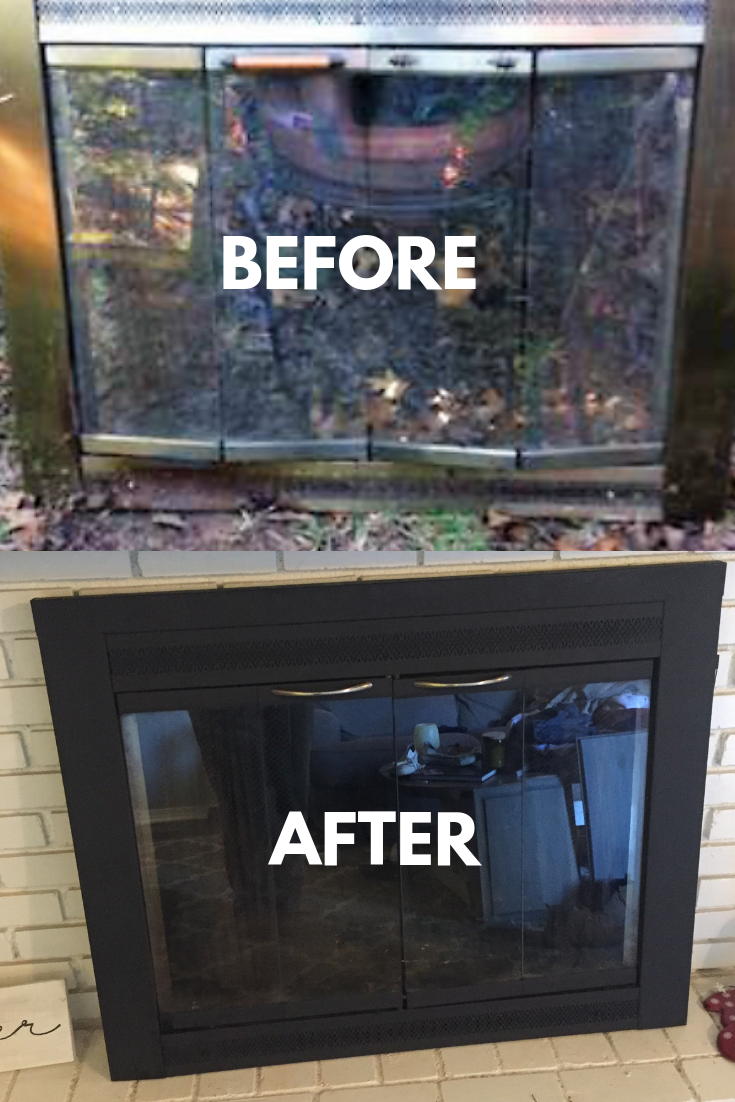
When we first moved into our house, there wasn’t a cover over our fireplace. It was just open for anyone to climb on in – mainly Teddy (our golden retriever), but I also had little relatives that come over sometimes who might have thought it was a good idea to climb in there.
I knew that eventually we would have a baby (spoiler alert-we did) and that it would need to be covered. I looked everywhere for a more affordable option than what I was finding online or in stores. These things can get really expensive. We had just bought our house so I was looking for something a little more budget friendly – almost free. Hahaha.

