DIY Hand Painted Sign
I can’t believe how fast January flew by! Does anyone else feel like that?
Did you see that according to Punxsutawney Phil, spring is coming early? I usually like winter weather but it’s hard not being able to get the baby out because it’s been so cold. I feel like she has been sick since the beginning of December so I welcome spring with loving arms.
I can’t wait to be able to go outside without a coat and hang out at the park. I see lots of days at the park in our future this spring.
I have wanted to do this tutorial for a while now! I always get the urge to update or add to my home décor in the spring. It’s a pretty expensive habit to get into, my friends. I used to see those cute hand painted signs but I didn’t want to pay a fortune for them, so I decided to do some research and make my own.
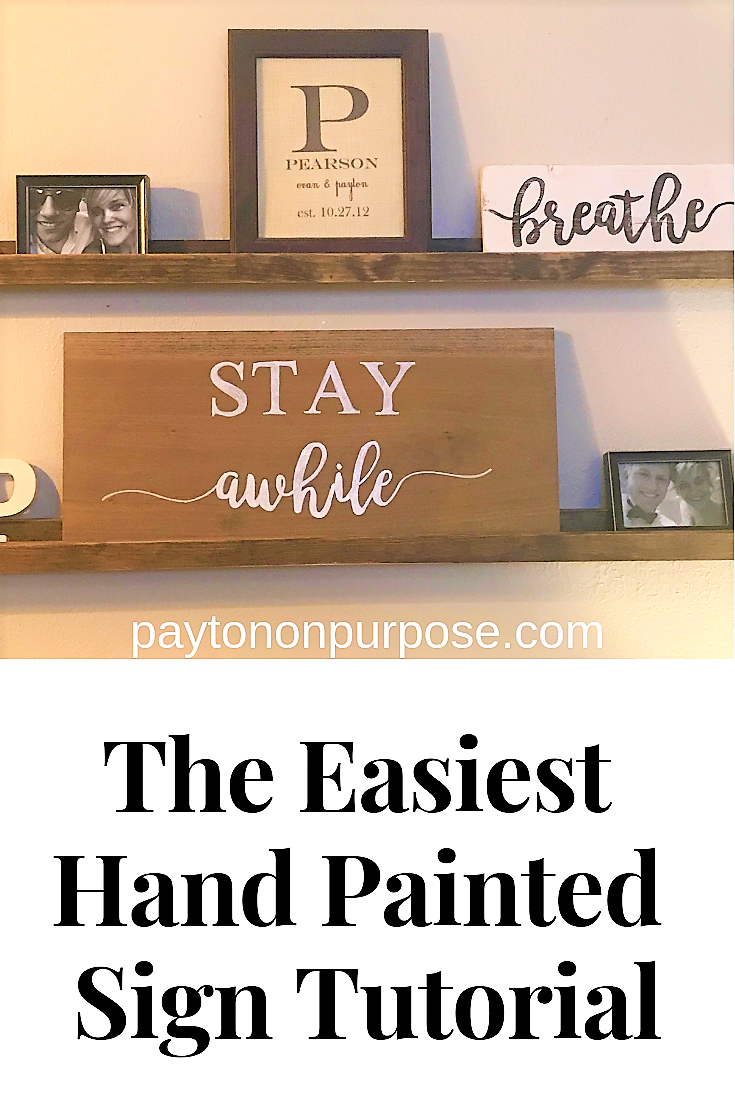
Over the last 5 years, I’ve made a ton of hand painted signs and I’ve used several different methods, but today I’d like to share with you my favorite way to make them. I’ve seen them done using the chalk method, transfer method, and using the Cricut, but I think the way that I do them is the fastest. I can paint a fairly large sign in about half an hour. Check out the slide show I made below of some of the ones around my house that I’ve done.
I have a lot of scrap wood that I try to use up on little projects like this. If you don’t have any scrap wood, head to your local Home Depot and pick some up! They will even cut it down for you so you don’t have to take a long board home. You can make several signs from one board!
These signs make great gifts and they always sell really well when we have had them at craft shows in the past.
Let’s get into the crafting!
Disclosure: Some of the links below are affiliate links, meaning, at no additional cost to you, I will earn a commission if you click through and make a purchase.
I’ve seen several signs that say “Stay Awhile” and I finally decided that I need one of my own.
The first thing you’ll do is select a piece of wood. I chose this piece of poplar that I had left over from another project. I love to make these signs in the evening while I watch TV. Just make sure you’ve got good light. I use the flash light on my phone if I need more light.
I started off by sanding the wood. I use this tiny corner sander for these smaller projects. I just want to make sure that I don’t leave any sharp corners or potential splinters. The stain or paint will go on much more smoothly.
The great thing about these signs is that you can do them any color combo. Back and white, stained or painted. It doesn’t matter. I chose to stain my sign with some Minwax Classic Gray stain because I had it already. I like to keep a few different colors around to do small projects with.
I apply the stain with a foam brush and wipe it off with a shop cloth.
I wiped off the excess stain and let the sign dry for about an hour. I didn’t stain the back because I’m going to hang it on the wall, and no one will see it. You could paint the back of yours and make it two sided if you wanted.
While my sign was drying, I found a font that I liked online and downloaded it. My favorite site to use is Dafont.com. I love to play around with fonts to get the look that I want. I used Times New Roman (a timeless classic) and Bromello which I use for many of my projects.
Once I select my font, I open Microsoft Word and type out my text that I’m using. I test print different sizes until I find something big enough for my sign. I print it out in draft mode so it doesn’t use a lot of ink.
When my sign is dry, I’ll bring it inside and lay out my paper on top of it. Make sure to space it evenly on the board and that there is equal space on both sides of the text, and make sure the words line up if they were cut in half by the printer. After I find the position that I want, I’ll tape the edges of the paper down.

I used a pen to trace the letters. You don’t have to press very hard for it to make an impression in the wood. After everything I traced, I’ll fill it in with my paint pen.


I have several sizes and colors of the paint pens so I can fill in even the tiniest lines. I go through these pens so fast, so I like to stock up.
Here she is! I think eventually I’ll add a frame out of some 1x2s but I couldn’t decide on a color. What do you think?

This is the fastest and easiest way that I’ve found to make these signs. Let me know if you try it out! I’d love to see your signs!
I hope you have a great rest of the week!
About The Author
Payton
Related Posts

$100 Bathroom Remodel
Oh boy. This is a makeover to top all other makeovers that I’ve done…
May 19, 2020
$100 Closet Remodel
The real slim shady song has been STUCK in my head all day. I have…
April 18, 20201 COMMENT
Leave A Comment

Marilyn | 13th Feb 19
This may be your best one so far!