$100 Bathroom Remodel
Oh boy. This is a makeover to top all other makeovers that I’ve done. This tiny bathroom in our master bedroom has been hidden away because it was so ugly. Okay, it wasn’t terrible, but it just didn’t feel like me. Please enjoy this guide on how I completed a $100 bathroom remodel.
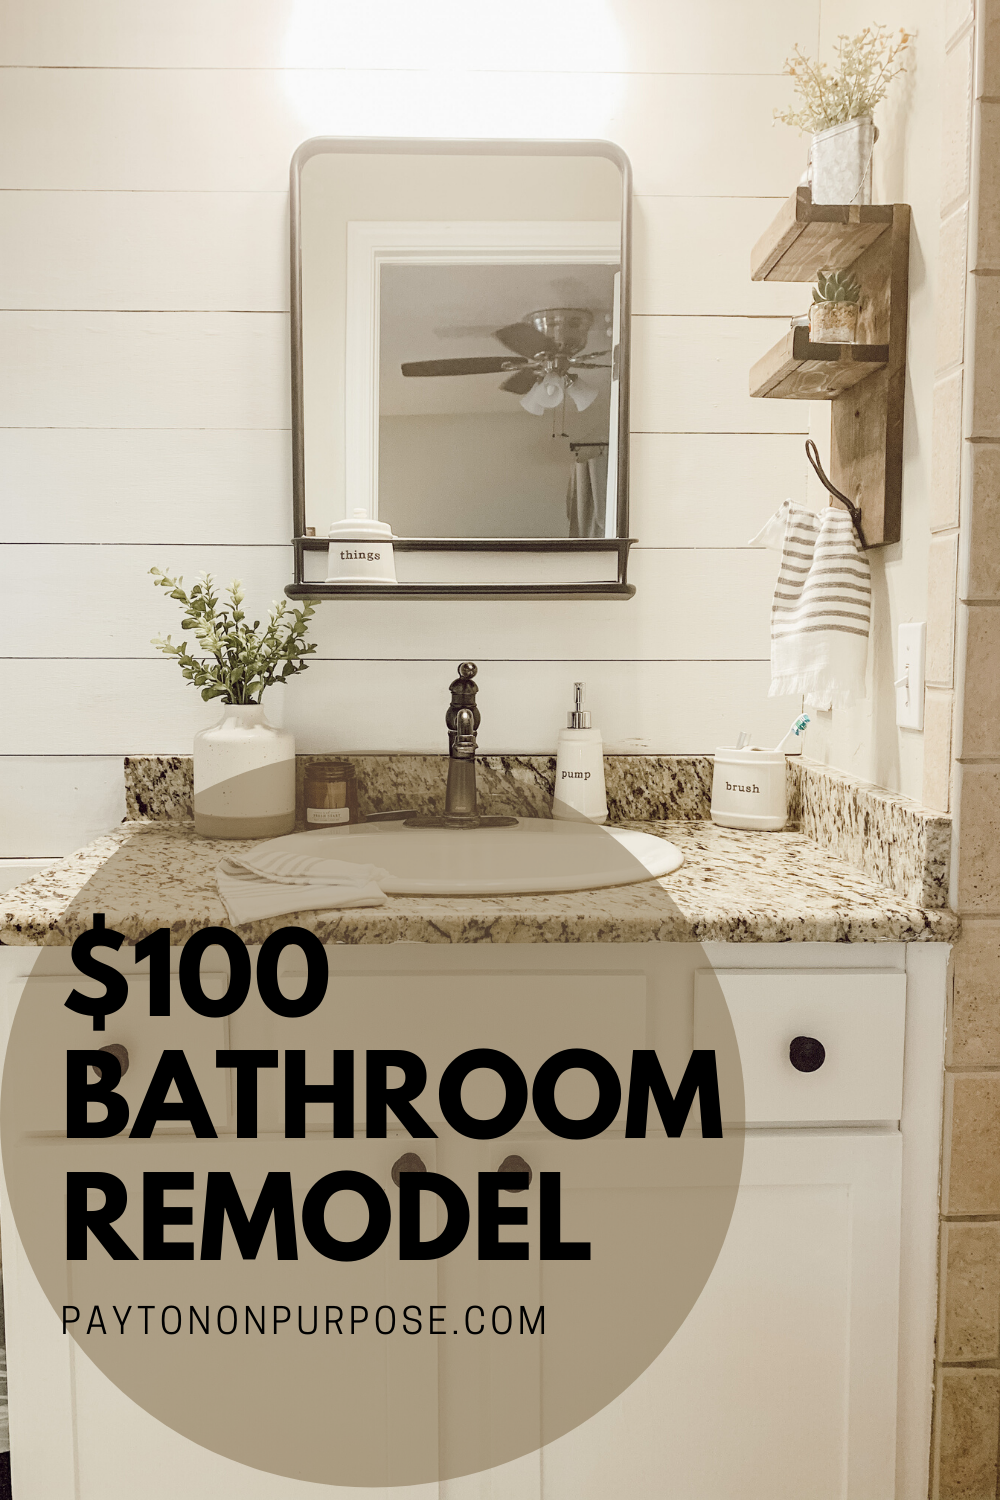
I never dreamed that I would find the time to re-do it and I didn’t really know what I wanted to do with it, until I was scrolling Facebook marketplace as you do, and stumbled across this pharmacy mirror for $20! I quickly jumped on it because I had been eyeing this exact one but it retails for over $100! What a steal!
The mirror kicked off my ideas for the rest of the bathroom. Does that happen with anyone else? One piece provides inspiration and the rest of the detail’s kind of fall into place.
I knew I wanted a feature wall, but I wasn’t sure what kind. I LOVE the look of the sharpie walls and the sponge walls all over Instagram but I thought it might look a little too busy for such a small room, so I went with shiplap instead. Are you even a DIYer if you don’t have some shiplap in your house? The entire shiplap wall cost me about $20 to complete and I’ll do a tutorial soon.
The light fixture is just one of those cheapo ones, but I didn’t want to replace it if I could make it look nicer with a little paint. I love matte black spray paint. I get kind of crazy when it comes to spray paint and look around for any object that isn’t nailed down to paint. It certainly gave the fixture a nice facelift and made it a little more modern. I like how it pops off the white background now.
The vanity was painted in the same color of white as the ship lap. It’s a custom color that matches the trim in the rest of the house. I also added some black hardware since it didn’t have any before. I’ve spent the last 5 years being annoyed every time I had to open the drawers without knobs.
For some extra storage, I added this medicine cabinet that I made out of scrap wood and a hand painted sign (hand painted sign tutorial here) for some hidden functionality. It holds all the things and I really enjoyed making it. I hand painted the sign and since it was made of scrap wood it cost me $0! All DIYs are fun but the ones that make your life easier ARE THE BEST. 
I’m in love with these shelves that I threw together, even if it resulted in my first nail gun injury. I think they really complete the bathroom. I used scrap wood on these too. My goal was to use as much scrap wood as possible because my pile has taken over the garage.

The blue floor is my favorite part of the makeover besides the mirror. I knew I wanted an accent color and it turned out a bit brighter than I expected but I really enjoy this shade of blue. It makes me happy when I see if first thing in the morning. The entire room makes me happy now. It’s so bright and feels like a much bigger room now. I’m not embarrassed by it’s bare walls and ugly brown tones anymore.
The entire makeover cost less than $100 and it looks like a completely different room. I linked some of the accessories on my Like to Know It page so be sure to check that out and follow me for more home décor finds.
I hope this post inspires you to create a space that is truly you and that you love in your home. Here are some additional “before” and “after” photos.


Happy building,
-P
About The Author
Payton
Related Posts

$100 Closet Remodel
The real slim shady song has been STUCK in my head all day. I have…
April 18, 2020
