How to Prep and Install Drop Cloth Curtains
Sometimes the DIY bug will hit and I need a project to do. I love quick but big projects that give you instant gratification – I think that’s why I love building furniture. Most recently I was able to redo our master bedroom for less than $100! Today I’ll be showing you how to prep and install drop cloth curtains.
*This post contains affiliate links.
I have received quite a few questions regarding my DIY drop cloth curtains and even though there are several tutorials on Pinterest, I thought I’d tell you exactly how I did mine in case you wanted to recreate the look in your own home.
About 3 months ago I decided that I wasn’t happy with our master bedroom anymore. It felt cluttered and dark. Our curtains and bedding were both a darker gray and I wanted a light, airy bedroom to relax in. I wanted to actually enjoy my bedroom again.
One of the first things we did was change out our headboard. I switched our gray upholstered headboard for this white wooden one from our guest room (we also got a new mattress for our 7th wedding anniversary to make the bed feel new.) This is honestly is my favorite part of the bedroom makeover.
After the bed was updated, I spray painted our lamp bases to match and got matching shades from Target. Our night stands are quite small so I knew I needed a smaller shade. We chose these lamp shades in the smaller size. I painted the lamp bases with Rustoleum matte black. I love how they turned out.
I ordered this Emma Oliver bedding in two colors from Wayfair and it is the most perfect robin’s egg blue. I also bought the taupe color for our guest room. It’s a good weight but it doesn’t make us super-hot at night either. This is how the bed and larger window curtains looked at Christmas time. All the heart eyes. Also, I promise our room isn’t always this clean. There is usually a pile of laundry in the chair.

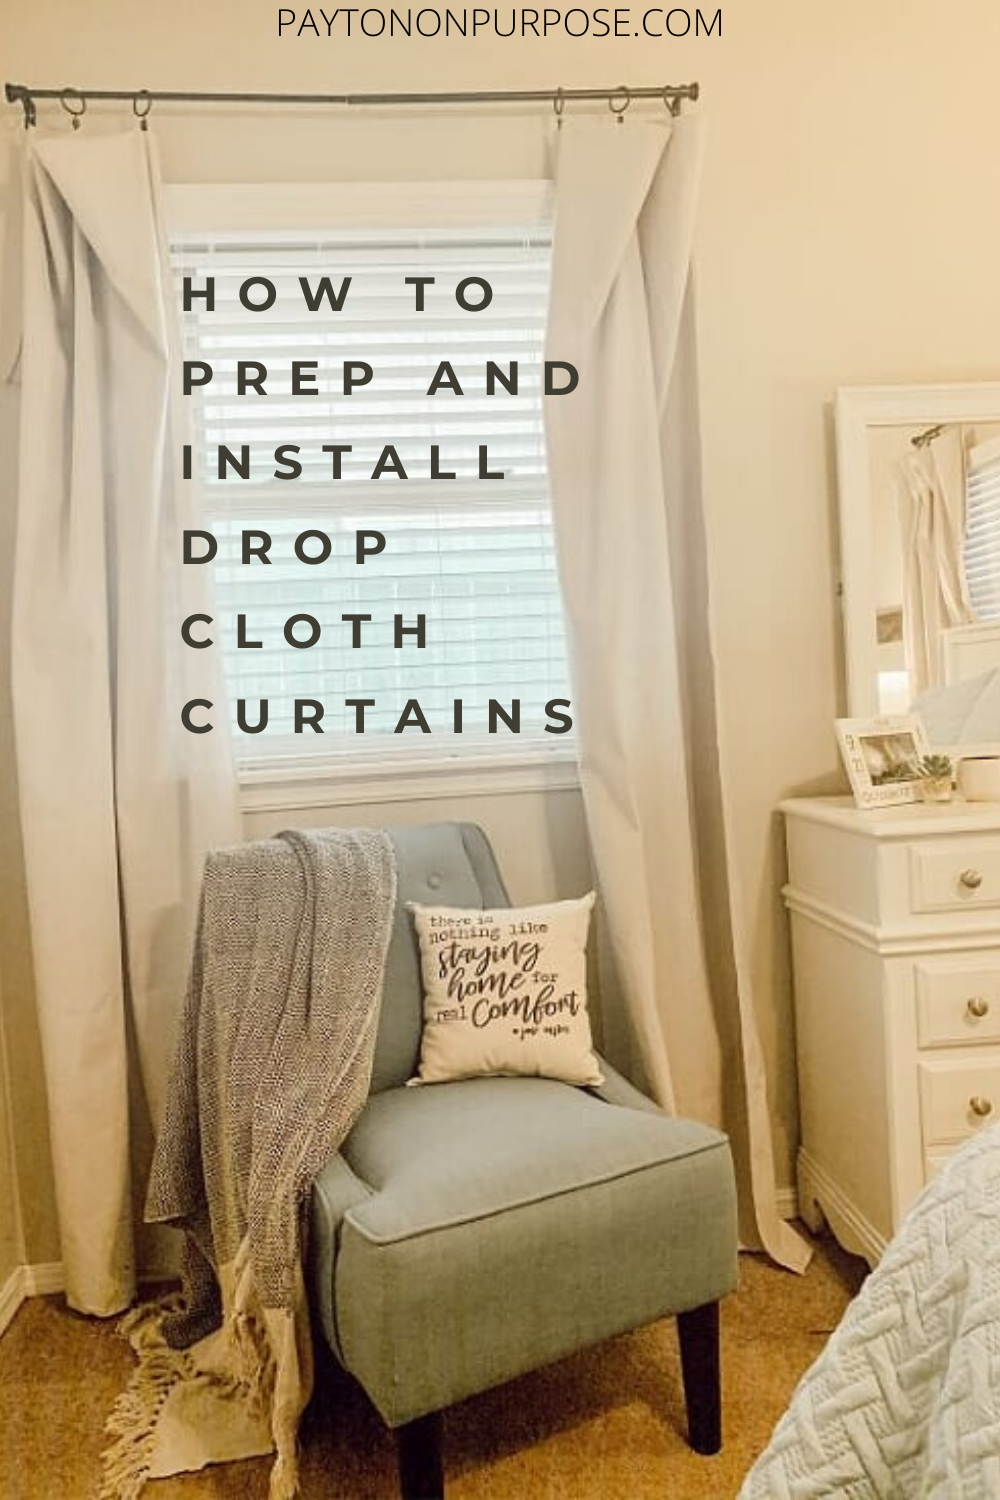
Finally it was time to make my curtains. I hurried to home depot and bought 3 panels of the medium weight drop cloth (6×9 ft panels), because I wanted it to still look a little sheer when closed but for the most part it blocks a lot of the light which is perfect for napping-which I do a lot of. You can see in the photo just how dark the room gets when the curtains are fully closed.

I ran to Target and got 3 packages of the rings and new curtain rods. When I got these rods they had them in a few different colors, but I felt black would look best in my house (they don’t have the black ones online apparently). I love the dainty look of these rods. It was exactly what I had envisioned.
Once I got everything home. I started by washing the panels. I bought 3 because 2 panels were for my large window behind our bed and the other panel would be cut in half to use on my smaller window.
I washed them with Downy Unstoppables so they would smell nice and hopefully get rid of the factory smell (spoiler alert, it did). I also used regular detergent and fabric softener. I didn’t dry them at all. I had read that they were much harder to iron if you dry them.
While the panels were in the wash, I made a template for my holes that I needed to pre-drill for the hollow wall anchors (we had curtains hanging before but the owner of the home before us had drilled the holes and they were right up against the window frame). This is the drill that I’ve used for years. I use a piece of scrap cardboard to create a guide. I’ll link an example here. Everything that I read about curtain placement said that 6 inches out from the corner of the window in both height and width is a good spot to hang the curtains. Placing the curtains 6 inches up and out from the window can make the room look much bigger and make the windows look bigger too.

Using the cardboard hack is so quick and easy. I made a mark with a sharpie on the cardboard, drilled a hole and then put the guide up to the window to use the Sharpie again to mark all my holes. I just flipped the cardboard guide over when I needed to the other side of the window. No measuring or second guessing if your curtain rod is level. The holes are perfectly level every time.
Once my holes were pre-drilled and my wall anchors were placed, I finished hanging my hardware so that all I had to do was iron my curtains and hang them up!
They weren’t that wet when I got them out of the washer so I decided to go ahead and iron them. This is key because they will dry so stiff and be much harder to iron if you dry them with your machine. I didn’t use starch, I only used additional water when I felt they were too dry and the wrinkles weren’t coming out.
Once my winkles were out, I went ahead and folded one panel long ways down the middle and cut it in half for the smaller window.
I took each of the edges that I cut and folded it over about an inch, used more water and ironed it flat. Then I folded it over one more time to make sure it would stay put. I am not about sewing life and I was about to have to run and get Isla from daycare. If you have a sewing machine and want to do a single stitch down the cut side after ironing, you could. Time would not allow it that day and you can’t tell since the curtains are bunched up a bit.
I then folded the tops of my curtains over about 15 inches and ironed this crease flat.
I ironed and folded the tops of the larger panels too and hung them up. Place the hooks an even amount apart on the top of the curtains. I eyeballed the placement of the hooks since my curtains would be open most of the time and they can always be moved later.
Voila! New DIY curtains that look not DIY.

Let me know if you have additional questions in the comments below. I didn’t take any photos of the actual hanging process because I was short on time. #MOMLIFE
Be sure and use the #paytononpurposeDIY if you make these so I can see!
Until next time,
P
About The Author
Payton
Related Posts

$100 Bathroom Remodel
Oh boy. This is a makeover to top all other makeovers that I’ve done…
May 19, 2020
$100 Closet Remodel
The real slim shady song has been STUCK in my head all day. I have…
April 18, 2020