DIY Christmas Eve Box
Disclosure: Some of the links below are affiliate links, meaning, at no additional cost to you, I will earn a commission if you click through and make a purchase.
I am so excited about this project! I‘ve wanted to build one of these ever since I saw the lovely Emily Norris talk about hers! Here is a link to that video.
Today I’ll be showing you how to build this thing, how I painted it and decorated it. In tomorrow’s post I’ll tell you what I’m putting inside!
Supplies –
The first thing that I did was head to my garage to look through my scrap woodpile. If you don’t have a scrap wood pile, I’ll tell you what you need from Home Depot. I’m using ¾” plywood for the bottom and side of this build and I’m doing a really nice top to give it a finished look. The top will be made of 3/4 inch poplar that I had left over from another project. You can also use ¾ pine from the Lowe’s and it would look great. I just like how poplar looks when painted.
The Lid –
The second thing I did was cut my top since it will fit flush over the box, I knew I wanted to make it a certain size. It is 12×12. I cut it on my table saw.

The Bottom –
I then started with my bottom piece, which is a square. I subtracted 1.5 inches from the 12 inch top to get my measurement from the bottom – this is to account for the width of the sides. Refer to the photo below to see the spacing I’m refering to.

Wood Glue & Pocket Holes –
I drilled a couple of pocket holes on each side of the bottom piece. I also suggest using wood glue along with the pocket holes to reinforce all joints. You can also use wood glue and a nail gun for this but I have a pocket hole jig so that I what I used here. You can buy a pocket hole mini jig for $20 that also includes the drill bit. I love to use the Kreg Jig products when building furniture. It reinforces the joints that much more. We used the mini jig for a couple of years before I upgraded to the much bigger Kreg Jig.

Using the Table Saw to Miter –
Once my bottom piece was drilled and set aside, I worked on my 4 sides. I cut them all to the height I wanted (11 3/4 ) inches and I trimmed off all the edges at a 45 degree angle. Additionally, I made sure to set my table saw to the 45 degree mark. I also made sure to cut and measure as I went to make sure the 45 degree angles would line up with the edge of the bottom board. Please use good saw safety when using the table saw (goggles, mask and move the wood safely through the blade and use a separate piece of wood to help push it through when needed.

I then attached each side piece to the bottom using the pocket hole screws. The screw holes are on the bottom of the box so I didn’t worry about filling them with filler and I didn’t paint the bottom of the box either.


After that I used some wood glue down my seams, added a couple of brad nails in each joint, then filled all the holes with wood filler and let dry while I worked on my top. I knew I didn’t want to use plywood for the top because the edges of plywood don’t look very good when painted. I also didn’t want to use a vinyl wood binding for the edges and so I opted to use the scrap poplar piece I mentioned earlier.

Sanding & Painting –
I sanded everything down and wiped with a tack cloth. These are great because they are sticky and get every bit of saw dust off! It’s wonderful!
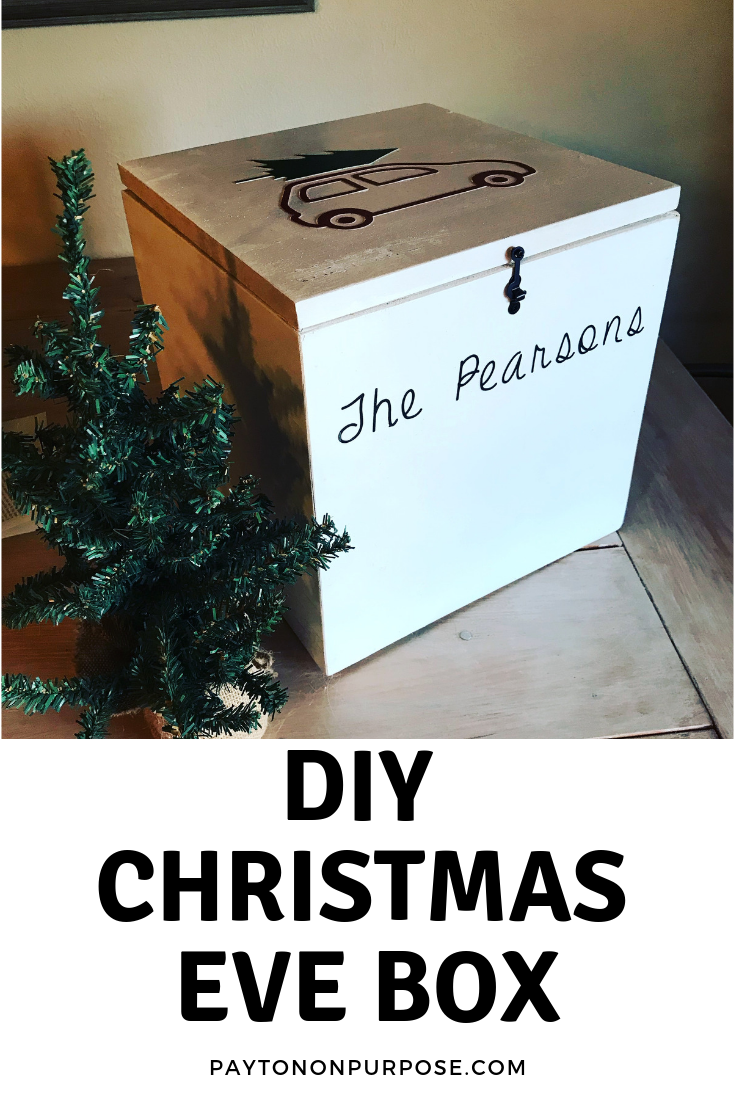
Once I was ready to paint, I did 2 coats of Rustoleum white spray paint and then I added my black hardware. I used tiny black hinges on the back and then this little black locking mechanism from Home Depot.
My sister has a Cricut machine and lives less than a mile away so I decided to take the box over there and apply vinyl cut outs on the top and front. I bought the paper at Hobby Lobby and I used Modge Podge to get the cut outs to stick.
We did a Christmas tree and car on top and on the front, I added “The Pearsons.” I think that next year i’ll add a little stocking for each of us to the front and maybe add a little something each year.
Here it is finished and ready to be filled up with goodies! I’m so excited to see Isla open it up this year.
This box will last for years to come and I will love looking back at all the things we put it in it each year.
I hope this post inspired you to build your own box for your family! The entire project took about 2 hours, but most of that was dry time. It took me about 20 minutes to make all the cuts on my table saw. I would love to answer any questions you might have-you can also reach me through the contact page at the top if you have questions or need a Skype session to walk you through the build.
Happy building!
About The Author
Payton
Related Posts

Men’s Holiday Gift Guide
I’m back again, at Payton’s request, for all you last-minute shoppers who…
December 11, 2019
5 Gifts You Need to Get Your Toddler This Christmas
Day 3 of Blogmas 2019! That’s right. I plan on posting every day…
December 3, 2019