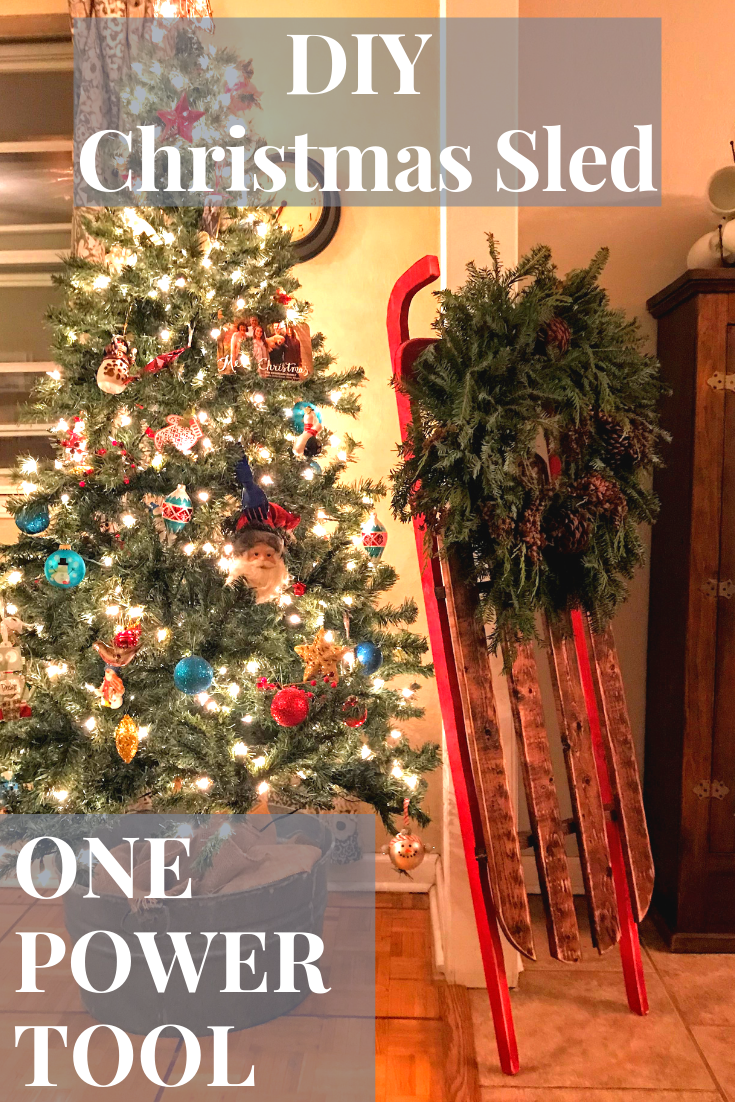
DIY Holiday Sled – One Power Tool
Disclosure: Some of the links below are affiliated links, meaning, at no additional cost to you, I will earn a commission if you click through and make a purchase.
Is anyone else super excited about being Santa this year? I am so looking forward to seeing Isla open presents and starting Christmas traditions with her. I’m also really pumped that so many of you have read my posts. It means so much. You have no idea. December is only a day away and I think I’m going to try and do blog-mas this year and publish a post for every day of December. I really want to document our lives while Isla Rose is little and Christmas is such a special time, so expect lots of new content if you are subscribed!
I’m writing today to let you know about a fun project I’ve been working on! I don’t get to build very often because our daughter goes to bed at 6:30 and power tools are loud but I was able to steal away for a little bit and throw this vintage looking sled together! I started building furniture in 2012 and almost everything in my house was built by myself and Evan. Carpentry can be very relaxing and my goal is to help those of you that might be intimidated by using power tools or saws. I hope you give it a try!
DIY Sled Tutorial
I know there are many sled tutorials on Pinterest but I wanted to create something a little different for you all. Not only does this lumber only cost about $10 but it also only uses 1 power tool! WHAT?!?! Yes, you read that right. ONLY 1 power tool. This is my first building tutorial so if you feel like you need more info because my brain works faster than I can type, please let me know. When I build I have a picture in my head of what each individual step looks like so I hope this explains well enough what I did to create this lovely piece of Christmas décor that will last for years to come!
Time-about 2 hours- 1-hour assembly, 1-hour dry time
Tools needed:
- Jig Saw – My Preference: Bosch Jigsaw
- Hammer – My Preference: Kobalt Steel Claw Hammer
- Tape measure – My Preference: Stanley Power Lock
- Clamps – (for stabilizing wood while cutting out pieces) – My Preference: 4-6″ Spring Clamps
Building Supplies needed:
- 1-1x6x6 white-wood board
- 2-1x3x8 furring strips
- Wood glue- I use Tight Bond by Franklin International
- 1 ½ nails
- 100 grit sand paper
- Cherry Red Krylon Spray Paint -or whatever accent color you choose (I think black or white would also look great!)
- Minwax Red Mahogany Wood Stain
Protection needed:
- Eye protection – shards of wood in your eye is not a good time
- Mask – breathing sawdust is better than cigarettes, but still not awesome
- Ear protection- saws are loud, save your ears
It may seem like a lot of items but most of them you probably already have in your garage. I didn’t use any templates for the pieces. I used items around my house to trace the rounded edges and it’s not exact or anywhere near perfect but it’s supposed to look old and weathered, so it doesn’t have to be. These little projects are so fun because it’s not a dining table that you have to spend a decade sanding. Sanding is the worst. I’m all about the instant gratification of a quick build and you, my friend, are 2 hours away from hanging a beautiful wreath on your very own vintage inspired sled. Your neighbors will so jealous.
Caution-This sled is not for riding but if you don’t think I will put my baby on it and take some adorable photos of her, then you are crazy. Because that is totally happening. Okay I’ll tell you how to build this thing now.
Step 1
The first thing I did was draw my ski pieces on the 1×6. I used a cup to make the rounded angles. I cut out one of the skis and then traced the second one on the opposite end to optimize my wood usage, then I cut the second one out with my jigsaw. When using the jigsaw make sure you have your goggles, mask and hearing protection on. Keep the saw fence flat against the piece you are cutting at all times and make sure to clamp the wood you are cutting to a worktop of some kind.

Steps 2 And 3
The next that I did was to trace the 3 braces and the little front piece on the same 1×6 board. Almost all of this board got used for this build. I used a cup for the rounded edges and then I eyeballed the larger rounded bit on the braces. I put the measurements on the photos to make it easier on you guys. This does not have to be perfect. Just make sure the top part of the brace is straight and that is pretty much the only thing that needs to be exact.


Step 4
The next thing that I did was to cut the slats out of the 1×3 boards. I cut four slats and the measurements are included in the photo. I knew about how long I wanted them and I traced a rounded edge on each (I used a bucket to trace the larger rounded edge, the other edges I just eyeballed until it looked the way I wanted it to) and cut them out using the jigsaw. Once again, please use good saw safety.

Step 5
After they were cut, I dry fit everything together to see how it fit. It does not have to be perfect and that is what I love about this project. It looks hand-made because it was. I think the flaws give it character. If there is anything that does not easily fit together you sand or use the saw to trim some edges.
Step 6
I stained the 3 braces and the slats. I then painted the skis and the front piece and let everything dry for about an hour. It was dry in our garage so it did not take long.

Step 7
Once everything was dry, I attached the braces to the skis using a dab of wood glue and nails. You could also use screws but remember to pre-drill so the wood does not split.

After that I attached the front piece and the slats with a hammer and nails.
Step 8
Next, I sanded the edges with the 100 grit sand paper to give it a light distressed look. It took just a couple of minutes.

Step 9-Optional
I then added a nail at the top for the wreath! The wreath is from Trader Joes. They always have the best wreaths. I’m in love. I’ve wanted to make this forever! This would make a great gift or girl’s night project! My girlfriends and I have gotten together to build furniture in the past. I hope you enjoyed this post and let me know if you’d like to see more posts like this. I’ll try to post at least 1 wood working project a week.

About The Author
Payton
Related Posts

$100 Bathroom Remodel
Oh boy. This is a makeover to top all other makeovers that I’ve done…
May 19, 2020
$100 Closet Remodel
The real slim shady song has been STUCK in my head all day. I have…
April 18, 20202 COMMENTS
Leave A Comment

Marilyn | 30th Nov 18
This sleigh is beautiful!
Payton | 6th Dec 18
Thank you!